

Send an estimate and turn it into an invoice
Updated November 17, 2026
An estimate (a quote) doesn’t touch your books. Once the customer says yes, you turn it into an invoice.
Send an estimate
- Press New › Estimate.
- Pick the Customer and add your lines, as on an invoice. The Expires date starts 30 days out; change it if you like.
- Press Send to (customer name), or Save and mark as sent if you’ll deliver it yourself.
How your customer accepts
The email has a link to the estimate. On that page your customer can:
- Type their name (and, if they like, their title and email), tick the box to accept, and press Accept and sign. Typing their name counts as their signature.
- Add their own change order number, if they have one, under Your change order no. (optional). It goes into the estimate’s Customer PO or reference, and onto the invoice you make from it.
- Or press Decline instead, add a note, and press Decline.
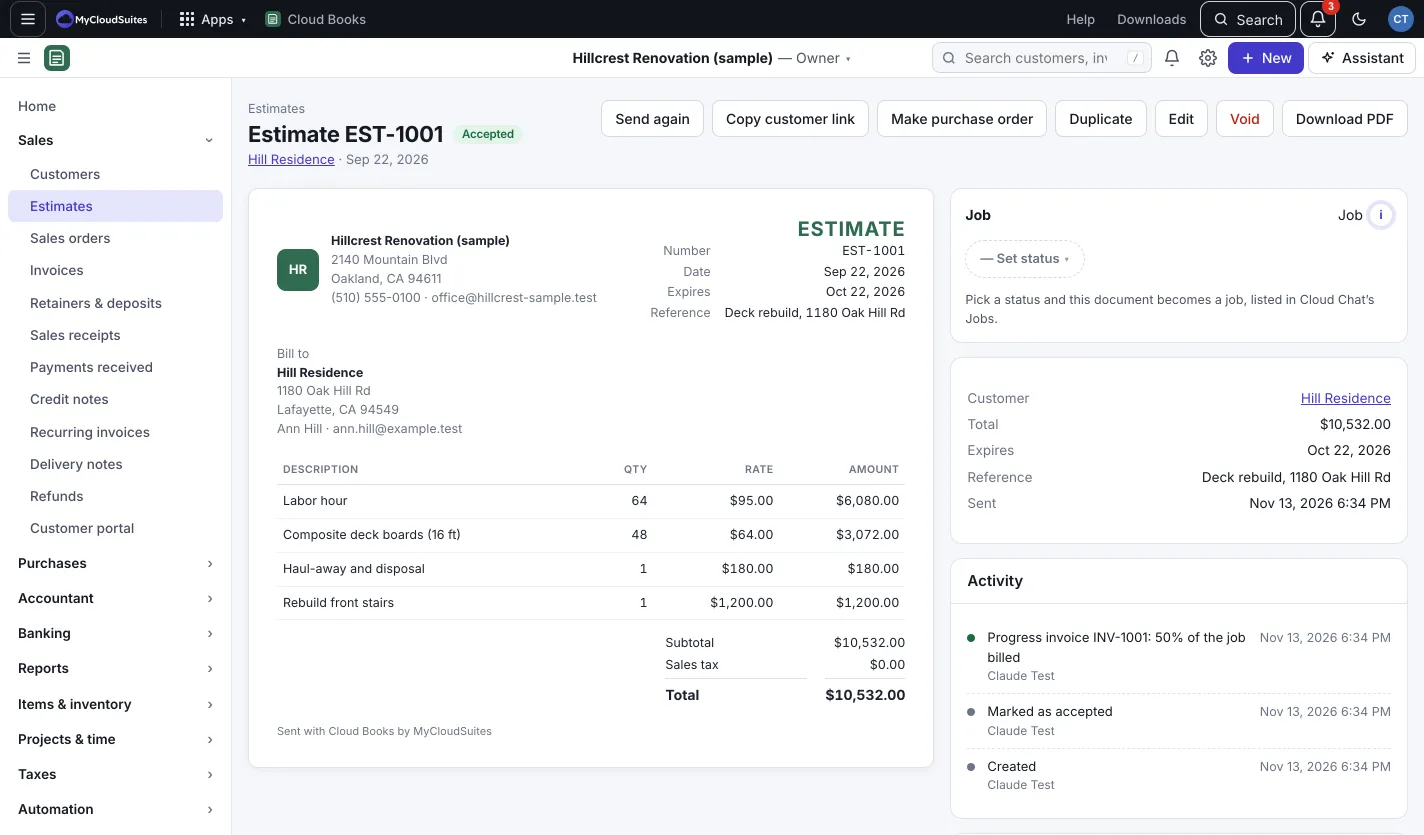
You see it in the estimate’s Activity, and the PDF gets a certificate page with their signature.
Said yes another way?
If the customer agreed on the phone or in person, open the estimate and press Customer accepted. If they said no, press Customer declined.
Turn it into an invoice
- Open the estimate.
- Press Turn into invoice. (Or Turn into sales order if you deliver first and invoice later.)
- The new invoice opens for editing with the estimate’s lines. Check it and send it.
Good to know
- To bill a big job in parts, use Invoice part of it instead. See Bill a job in stages.
- Work added or taken off after the customer accepts goes on a change order. See Change orders.
- Make purchase order on an estimate makes a draft purchase order for the products on it, at their cost.