

Custom fields
Updated November 13, 2026
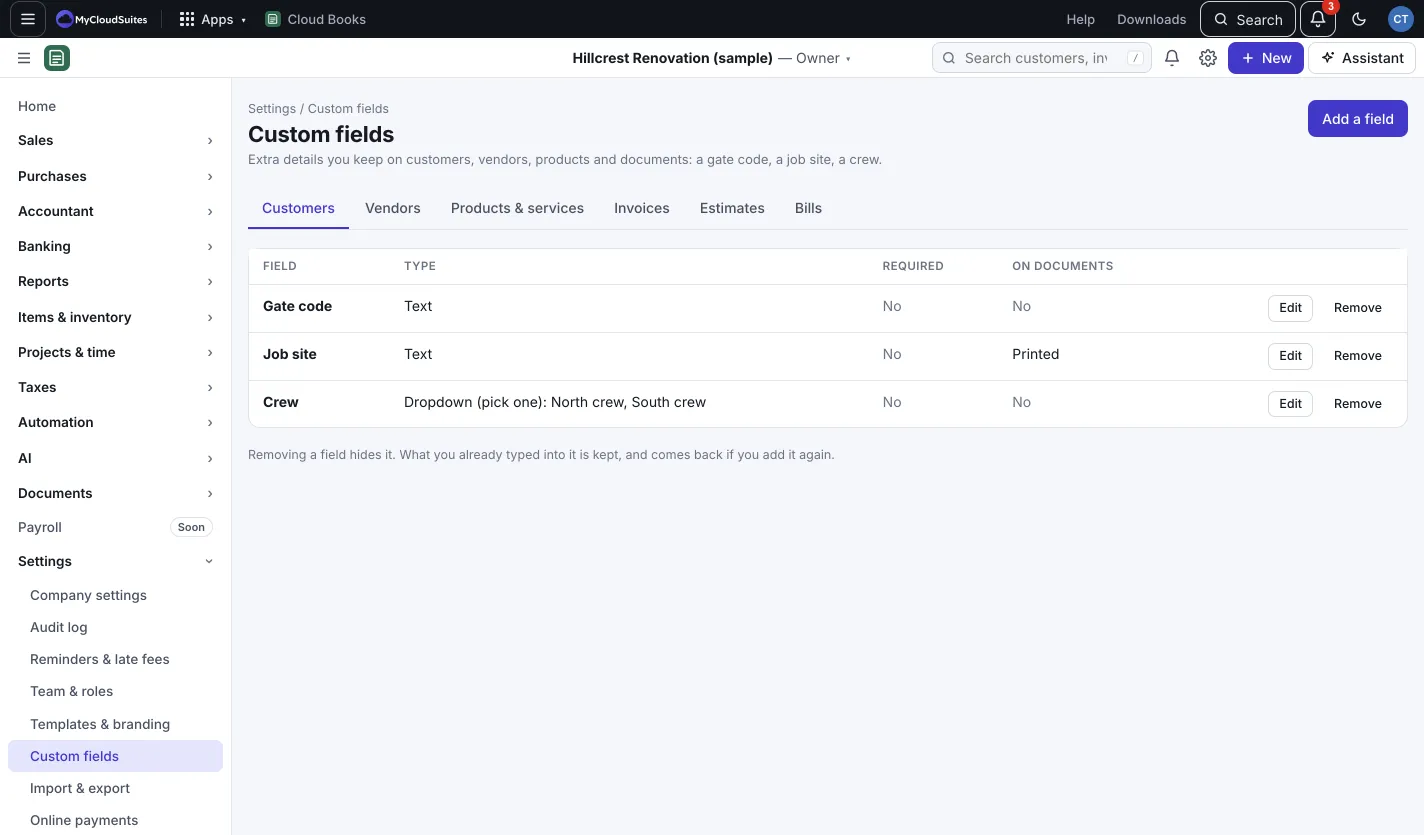
Custom fields keep details Cloud Books doesn’t have a place for, such as a gate code, a job site or a crew. You can add them to customers, vendors, products and services, invoices, estimates and bills.
Add a field
- Go to Settings › Custom fields. (Only the owner or an admin can add or change fields.)
- Pick the tab for where it goes: Customers, Vendors, Products & services, Invoices, Estimates or Bills.
- Press Add a field.
- Give it a Name and pick its Type: Text, Number, Date, Dropdown (pick one) or Checkbox (yes or no). For a dropdown, type the Choices, one per line.
- Tick Required: it must be filled in if it can’t be left empty.
- Tick Print it on PDFs and the customer’s page to show it on documents. (Not offered for products and services.)
- Press Save.
Fill them in
The fields show under More details when you add or edit a customer, vendor, product or document of that kind.
Good to know
- A field’s type can’t change once it’s made. To change it, remove it and add a new one.
- Press Edit to rename a field, change its choices, or switch Required and printing.
- Remove hides a field. What you already typed into it is kept, and comes back if you add it again.