Switch from Quicken or Joist
Updated November 13, 2026
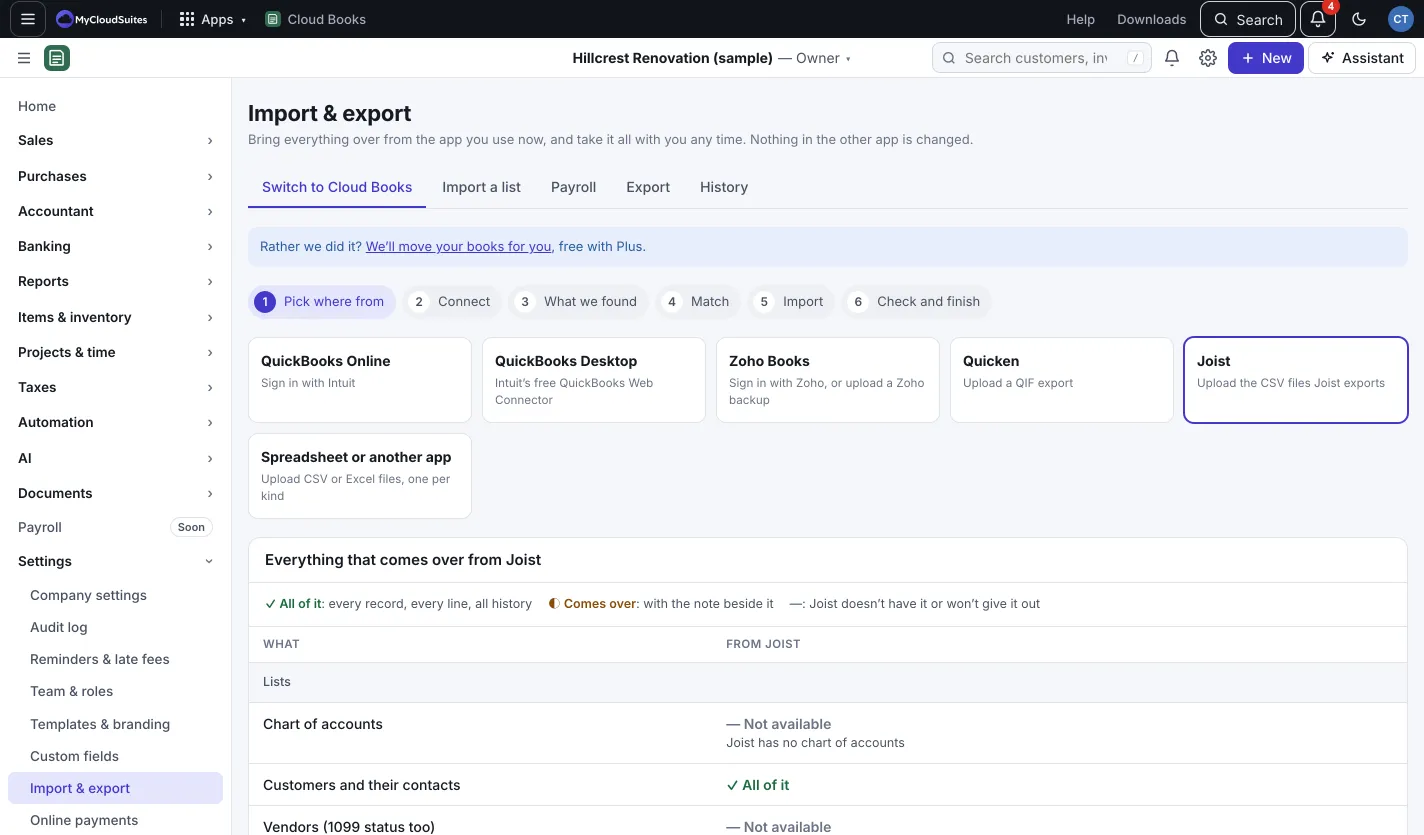
Both work by uploading files. Go to Settings › Import & export, pick Quicken or Joist on Switch to Cloud Books, and press Continue with (the app). Then finish the steps as in Switch to Cloud Books.
Quicken
- In Quicken: File › Export › QIF file. Quicken for Mac exports QIF from File › Export › QIF too.
- Choose “All accounts”, every date, and tick Transactions, Account list and Category list.
- Drop the .qif file on the page and press Upload and continue.
What comes over: your accounts, your categories (as income and expense accounts), payees, and every transaction, each as one entry with its splits. Transfers come over once.
What stays in Quicken: investment accounts and securities; classes, memorized transactions and reminders; reports and budgets; and which transactions were cleared.
Joist
- At pro.joistapp.com (the website, not the phone app): Clients › ⋮ › Export, and Items › ⋮ › Export.
- Invoices › Export and Estimates › Export: click each month (one file per month). Joist names every month’s file the same; that’s fine, Books tells them apart.
- Optional: Reports › Invoices › Download (.CSV), for due dates and paid dates.
- Drop them all on the page at once and press Upload and continue.
What comes over: clients, items, invoices and estimates with their totals and tax (one line each, not the line details), and how much each invoice received. Taxes come over by name; Joist doesn’t export the rate, so you set it.
What stays in Joist: jobs and schedule, photos and contracts, and line details (save PDFs of any you need).