

Switch from QuickBooks Desktop
Updated November 13, 2026
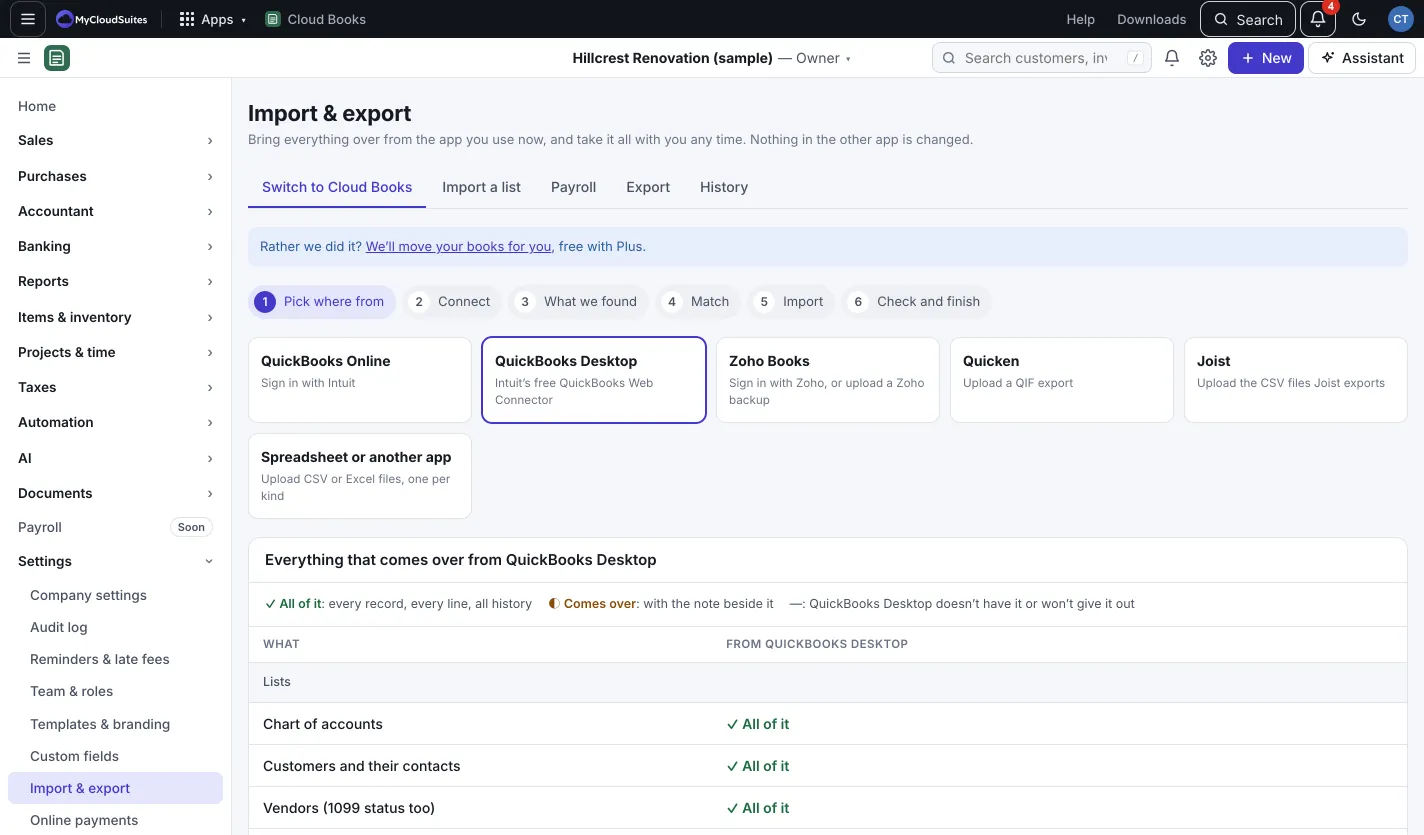
QuickBooks Desktop connects through the QuickBooks Web Connector. It’s free from Intuit and comes with QuickBooks Pro, Premier and Enterprise 2016 and later, on Windows.
Connect with the Web Connector (recommended)
- In Cloud Books, go to Settings › Import & export, pick QuickBooks Desktop and press Continue with QuickBooks Desktop.
- On the computer that has QuickBooks, open QuickBooks as the Admin and open the company file.
- In Cloud Books, press Download the .qwc file and copy the password shown (it’s shown once). Press Copy to copy it.
- In QuickBooks: File › Update Web Services (or open the QuickBooks Web Connector from the Start menu) › Add an application › pick the .qwc file, then allow it when QuickBooks asks.
- Paste the password, tick Cloud Books and press Update Selected.
- Leave the computer on until it finishes. The Cloud Books page moves on by itself.
Then finish the steps as in Switch to Cloud Books.
Lost the password? Download the file again. Each download makes a new password, and the one before stops working.
Doc Center files (optional)
On the Connect step, open Doc Center files (optional) and upload the folder’s files to bring your attachments.
No setup: reports and lists
If you can’t use the Web Connector, upload files instead (less complete: QuickBooks reports don’t say which invoice each payment paid, so Books matches them and shows you the ones it couldn’t):
- File › Utilities › Export › Lists to IIF Files: check everything.
- Reports › Accountant & Taxes › Journal, all dates, to Excel.
- Reports › Customers & Receivables › Open Invoices, to Excel.
- Drop the files on the page.
Good to know
- On a Mac? Back up for Windows first (File › Back Up To › QuickBooks for Windows), or use the reports and lists route.
- Memorized transactions are listed for you to set up again; QuickBooks won’t hand them over. Memorized reports stay in QuickBooks.