

Keep your files in Documents
Updated November 13, 2026
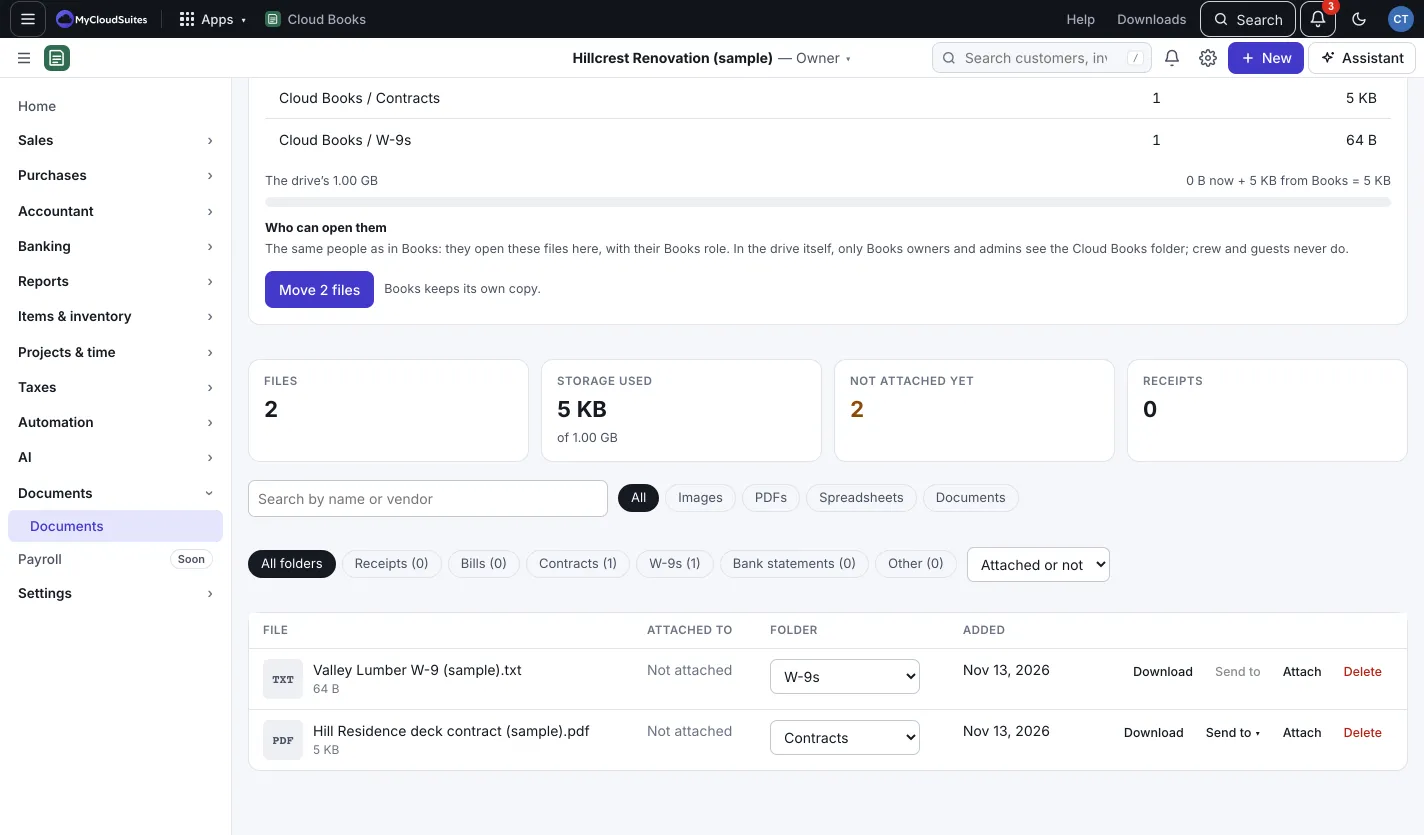
Documents › Documents holds the company’s files: receipts, bills, contracts, W-9s and bank statements. Files you drop on an invoice, bill, expense or contact show up here too.
Upload files
- Press Upload (or New › Document upload).
- Pick a Folder: Receipts, Bills, Contracts, W-9s, Bank statements or Other.
- Drop files on the box, or press choose files. PDF, images, CSV, XLSX, DOCX or TXT, up to 20 MB each.
Find and sort them
- Type in Search by name or vendor, or pick Images, PDFs, Spreadsheets or Documents.
- Pick a folder, or Attached or Not attached to see what still needs a home.
- Change a file’s folder from the list.
Attach a file
- Press Attach beside the file.
- Pick Invoice, bill or expense, Customer or vendor, or Product or service, and search for it.
- Press Attach here.
Press Move to attach it somewhere else, or Detach from in the same drawer. On an invoice or contact you can also press Attach existing to pick a file from here.
Good to know
- The tiles show how many files you have, the Storage used of your plan, and how many are Not attached yet.
- Receipts you want read and filed go in the Receipt inbox.
- In a company with a company drive, an owner or admin can move the files into the drive, so they sit beside files from the other apps. Books keeps its own copy.