Tables, pictures and page layout
Updated November 13, 2026
The ribbon’s Insert, Layout and Design tabs in Cloud Docs add tables, pictures and other objects, and set up the page.
Tables
- Put the cursor where the table goes.
- On the Insert tab, choose Table.
- Type the number of Columns and Rows, then choose Insert table.
While the cursor is in a table, the Table tab appears on the ribbon. It has Row above, Row below, Column left and Column right to add rows and columns, Row, Column and Table to delete them, and Merge cells. Press Tab to go to the next cell and Shift+Tab to go back.
Pictures
- On the Insert tab, choose Picture and pick an image file.
- The picture goes in at the cursor, in line with the text.
Click a picture to select it. Drag it to move it, or drag a corner to resize it.
Wrap text around a picture
With the picture selected, go to the Layout tab:
- Wrap text sets how text flows around it: In Line with Text, Square, Tight, Through, Top and Bottom, Behind Text or In Front of Text.
- Position places it in one of nine spots on the page, such as Top Left or Middle Center.
- Size sets its width and height in points. Leave a box empty to keep that side as it is.
These work for shapes, text boxes and charts too.
Shapes, text boxes, charts and equations
On the Insert tab:
- Shapes adds a Rectangle, Rounded Rectangle, Oval, Isosceles Triangle, Right Arrow, Star or Line.
- Text box asks for its text, then adds the box. Click inside it to edit the text.
- Chart adds a Column, Bar, Line or Pie chart. Select it and choose Edit data on the Layout tab to change its numbers and labels.
- Equation takes an equation typed in Word’s linear format, such as x^2+y^2=z^2. Put the cursor beside an equation and choose Equation again to edit it.
SmartArt from a Word file is shown and kept. To change its text, select it and choose Text pane on the Layout tab. You can’t add new SmartArt yet.
Page setup
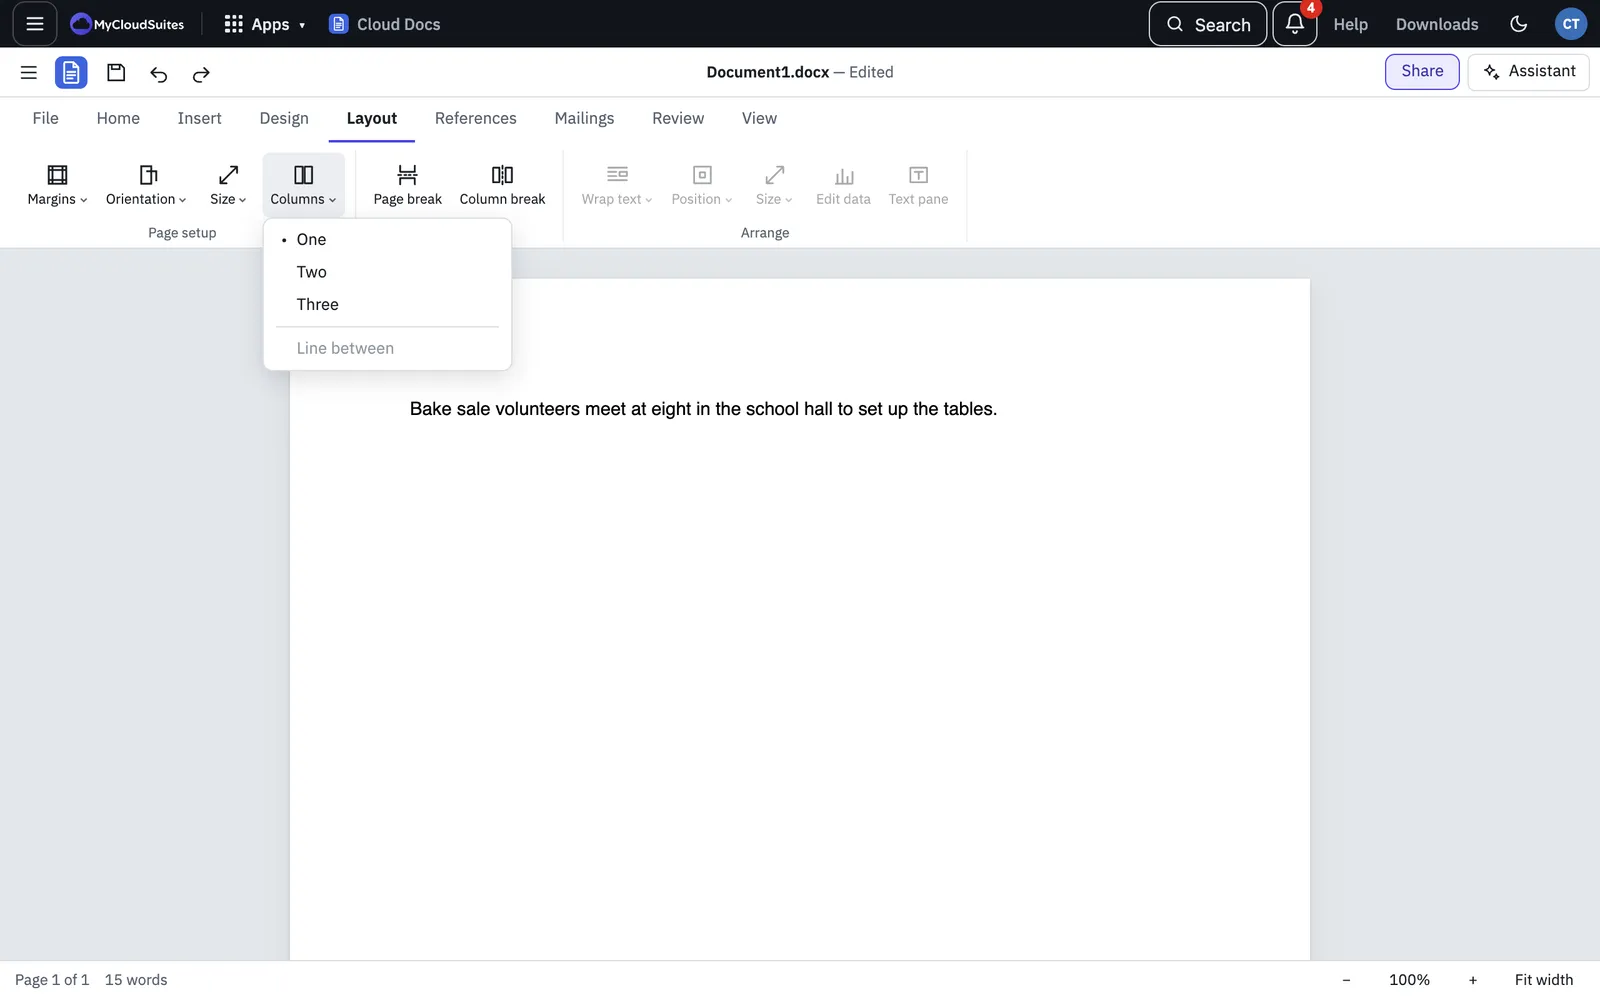
On the Layout tab:
- Margins: Normal, Narrow, Moderate or Wide.
- Orientation: Portrait or Landscape.
- Size: Letter, Legal, A4, A5 or Executive.
- Columns: One, Two or Three. Choose Line between to draw a line between them.
On the Design tab, Watermark adds text such as DRAFT or CONFIDENTIAL behind each page, or your own text. Page colour colors the page, No colour takes it off, and Page borders puts a border around each page.
Headers, footers and page numbers
Double-click in the top or bottom margin of a page to edit its header or footer. Type as you would in the body. Double-click in the body, or press Esc, to go back.
Page numbers already in a Word document’s headers and footers are kept and stay up to date. There’s no button to add page numbers yet.
Breaks
- Page break (Ctrl+Enter, or ⌘Enter on a Mac) on the Insert or Layout tab starts a new page.
- Column break (Ctrl+Shift+Enter) on the Layout tab moves the text after it to the next column.