

Redact text and images permanently
Updated November 13, 2026
Redacting removes text, pictures and other content from a PDF for good. By default a black box is left where it was. A black box drawn on top isn’t enough, because the text is still underneath. Cloud PDF’s Redact tool takes it out of the file.
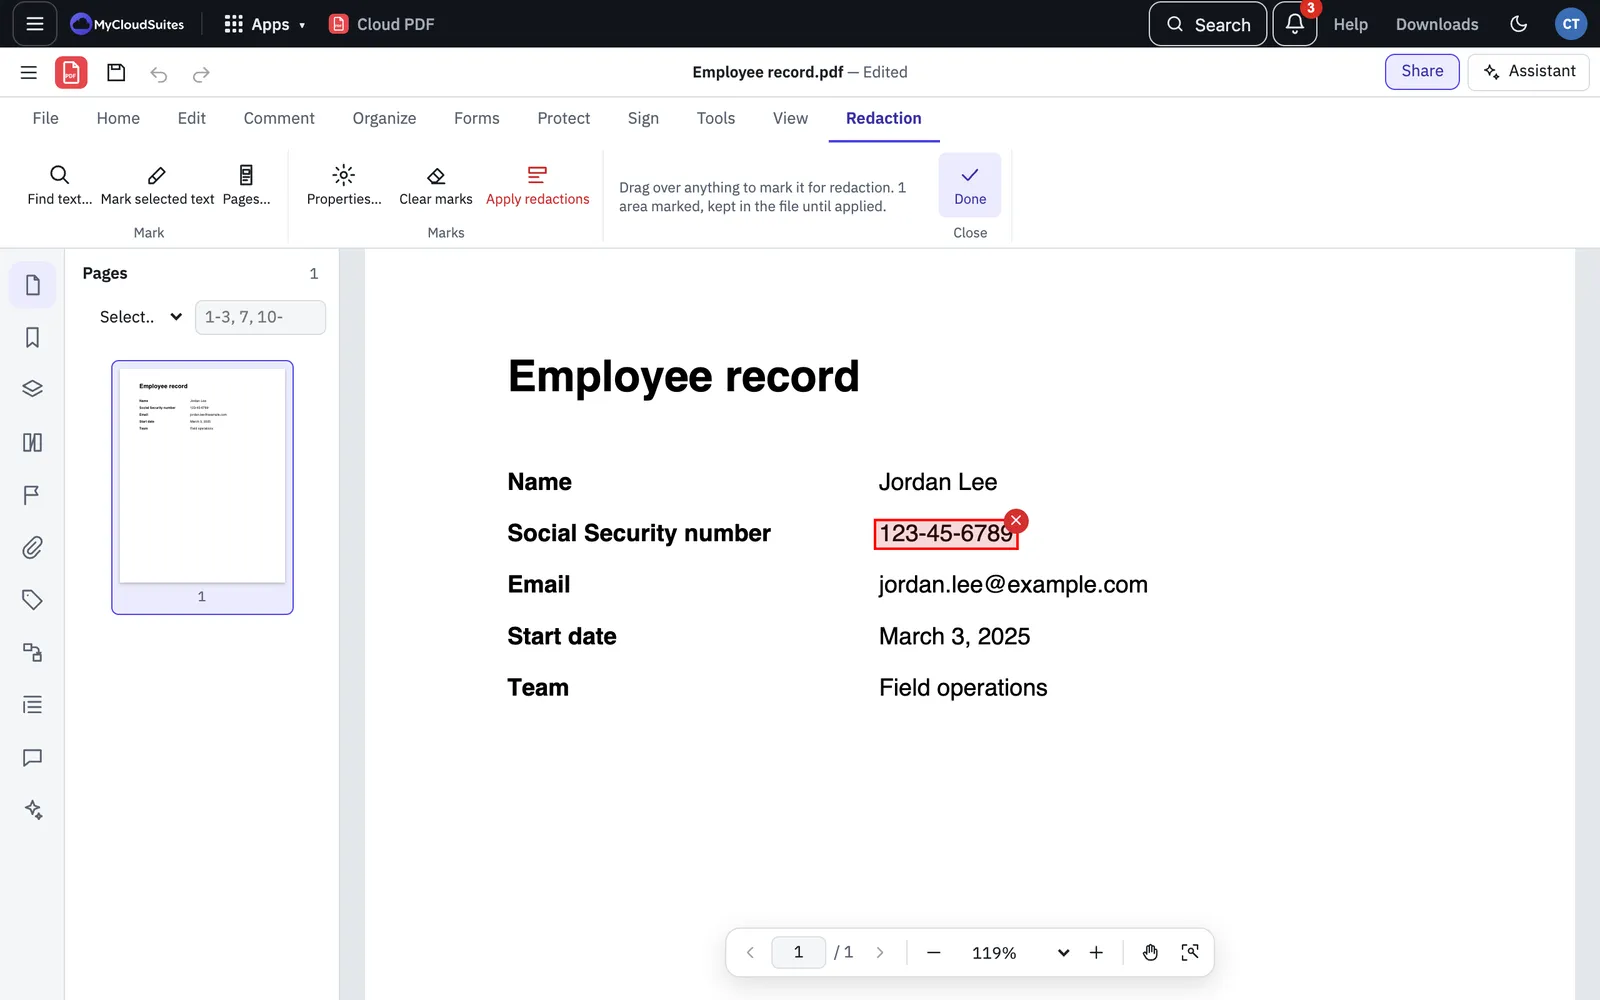
Redaction works in two steps. First you mark what to remove. Then you apply the redactions, which deletes it.
Mark what to remove
- Open the PDF.
- Choose Tools › Protect & Redact › Redact, or Redact on the Protect tab of the ribbon. You can also press Ctrl+Shift+X (⌘+Shift+X on a Mac). The Redaction tab opens on the ribbon.
- Drag over anything on the page to mark it: a word, a paragraph, a picture or part of one.
- To mark text you’ve already selected, choose Mark selected text.
- To mark whole pages, choose Pages… and pick the current page, all pages or a range such as 1-3, 7. The pages stay in the document, but everything on them is removed.
Marks are outlined on the page. Until you apply them, nothing is removed, and the marks are kept in the file so you can review them later.
Find text to redact
- On the Redaction tab, choose Find text…. You can also choose Tools › Protect & Redact › Search and Redact….
- Choose what to look for:
- Word or phrase
- Words from a list (one per line, or Import word list…)
- Custom pattern (regular expression)
- Social Security numbers, Email addresses, Phone numbers, Credit card numbers or Dates
- Tick Whole words or Match case if you need them, then choose Search.
- Each match is listed with its page. Untick any you want to keep, or use Select all and Select none.
- Choose Mark for redaction.
Choose how redactions look
Choose Properties… on the Redaction tab, or Tools › Protect & Redact › Redaction Properties…. You can set:
- whether to Fill redacted areas, and the Fill colour
- Overlay text to show in the box, such as “Redacted”, or a code from a list of redaction codes
- the Font, Text colour and Alignment of that text
- the Mark outline colour you see while marking
Tick Also change the marks already made to give existing marks the new look.
Apply the redactions
- Check every mark. Choose Clear marks to start over.
- Choose Apply redactions on the Redaction tab, or Tools › Protect & Redact › Apply Redactions.
- Cloud PDF asks you to confirm. Text, images and form fields under the marks are deleted from the file.
- Save the file with File › Save (Ctrl+S, or ⌘+S on a Mac).
You can undo until you save. Once the file is saved, the redacted content is gone and can’t be brought back. Keep a copy of the original if you might need it.
If you save while marks are still waiting, Cloud PDF asks whether to apply them first. If you say no, they stay in the file as marks to apply later.
Before you share
Redaction removes what you marked. Other things can still be hidden in the file, such as metadata, comments, attachments or text outside the page. Use Tools › Protect & Redact › Remove Hidden Information… to clear them out too. See Protect a PDF with a password.
When you’re done marking, choose Done on the Redaction tab.