

Print and save a document as PDF
Updated November 13, 2026
Cloud Docs makes a PDF of your document for printing and sharing. Because Cloud Docs lives inside Cloud PDF, you can open that PDF in the next tab and keep working on it with the PDF tools.
Save as PDF
- On the ribbon’s File tab, choose Save as PDF.
- Choose a name and a place. The name starts as your document’s name with .pdf.
Your Word document stays open and unchanged. Save it too if you want to keep your edits in Word format.
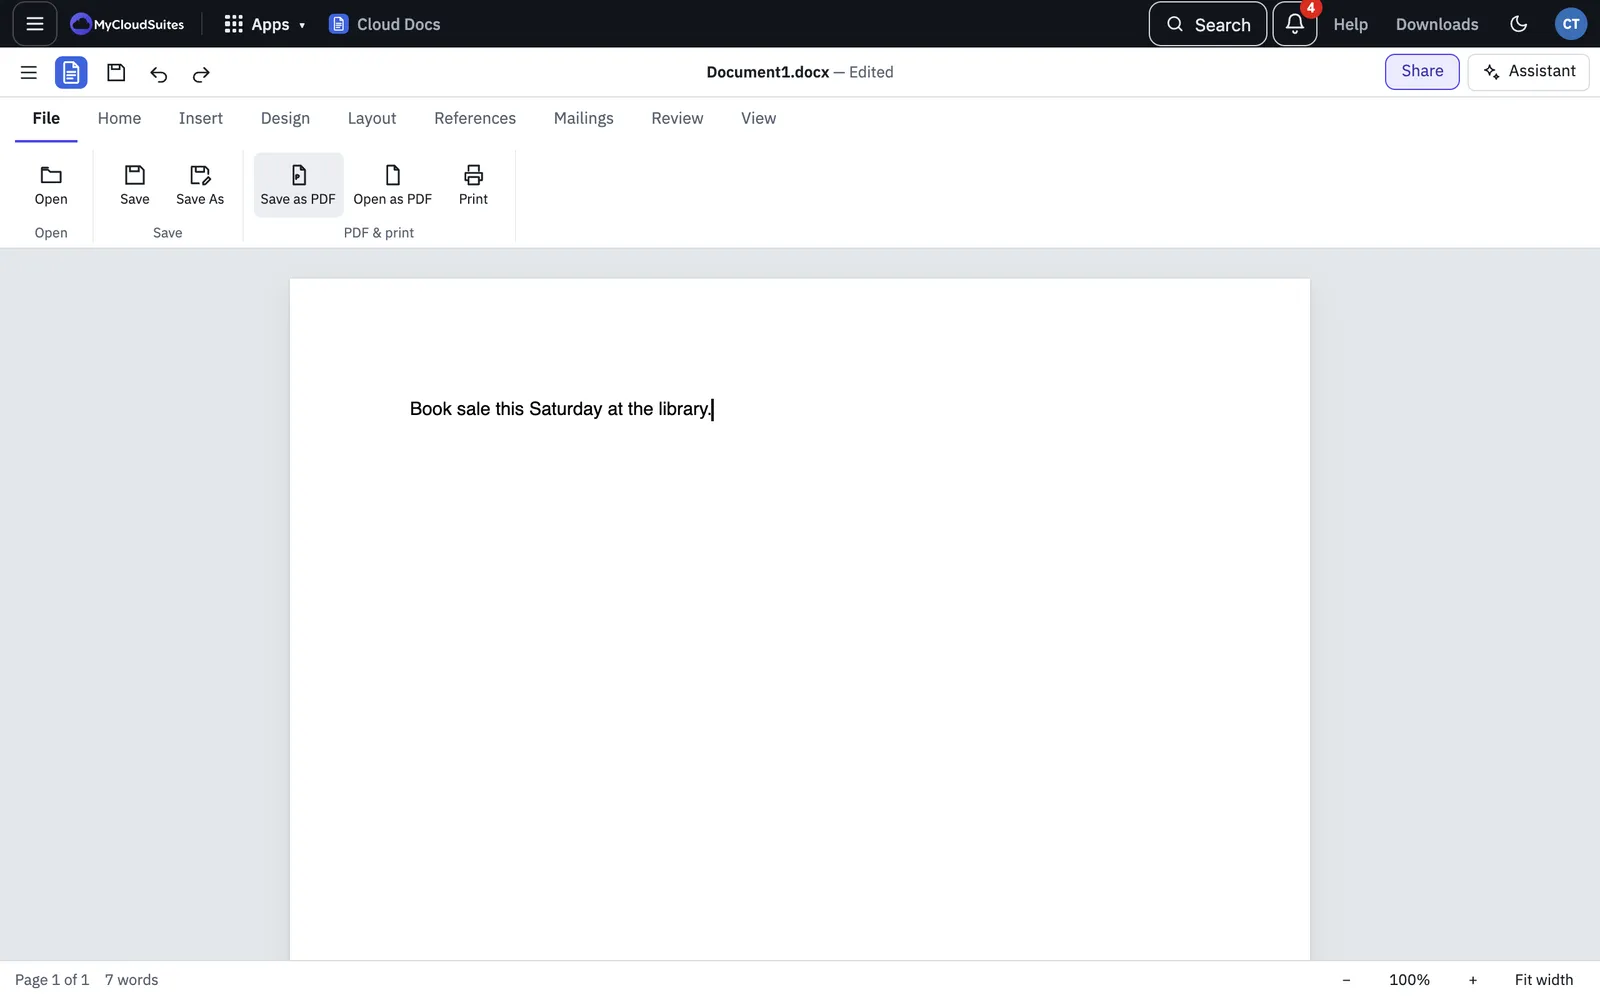
- Choose Print on the ribbon’s File tab, or press Ctrl+P (⌘P on a Mac).
- Cloud Docs makes a PDF of the document and opens it in a new tab, then the Print dialog opens.
- Choose your printer, the pages and the other options, then print.
In the browser, the printer is Browser print dialog: Cloud PDF hands the pages to your browser’s own print window, where you pick the printer, copies and sides. If the pages come out blank, choose Pages came out blank? Open them in a new tab to print in the message that appears and print from there.
The PDF tab stays open after printing. Close it if you don’t need it.
Open as PDF and keep going
Choose Open as PDF on the ribbon’s File tab. A PDF of the document opens in a new tab, with all of Cloud PDF’s tools. From there you can, for example:
- fill in and sign it, or add a digital signature
- protect it with a password
- combine it with other PDFs, or add, remove and reorder pages
- send it for signature (needs MyCloudSuites Plus)
Changes you make to the PDF don’t go back into the Word document. To change the wording, edit the Word document and make a new PDF.
Fonts in the PDF
The PDF uses the fonts your document uses when your computer has them.
- In the desktop app, it uses the fonts installed on your computer.
- In the browser, it uses your computer’s fonts once you’ve let the page use them with Use fonts on this computer (in Edit PDF’s Format panel). Until then, text is set in a similar standard font, so line breaks can differ a little from Word’s.